So, by now you are probably completely tired of hearing about my kitchen! I’m
happy to finally say, we have the whole kitchen clean, organized, &
functioning well for our family! Since I've just been showing you bits &
pieces, today I thought I would show you the kitchen in it’s entirety with links
to each post.
If you'd like to see how it started out, you can see the "Before" pictures here.
If you'd like to see how it started out, you can see the "Before" pictures here.
To the left of the microwave, we have the cooking cabinet:
Using a spice rack helps me easily grab the spices I need when making
dinner. I painted the insides of these doors with chalkboard paint so I can
easily see the week’s meal plan & write down any groceries I notice we need
throughout the week. Hanging my recipe cards & measuring cups & spoons
on hooks on the door helps maximize storage & keeps dinner making
necessities at arms reach.
Next to that (& above the microwave) are the cookbooks & cooking magazines:
This is also where I keep my Grocery & Meal Planning Binder. I keep my
printable grocery list & staples list inside it.
To the right of the microwave is the baking cabinet:
Measuring bowls, cups, & spoons are stored along with baking supplies
& mixes to save time. Lesser used items, such as cake decorating supplies
& cookie cutters are stored together on the upper shelves.
The upper corner cabinet is home to disposable dishes, serving dishes, &
other random items (like the snow cone maker):
The glasses, plates, & bowls are stored in the next cabinet, which is above
the dishwasher:
Building custom drawer storage keeps this cooking drawer tidy.
Below that, our bake ware cabinet holds baking dishes, cake pans, cookie sheets,
& muffin tins, thanks to this pullout bin my husband created:
Having this pullout bin for trays & tins makes it so much easier to take
them out & put them away.
To the right of the stove three drawers store utensils, & the kids’
plastic dishes, bowls, & cups:
Mark built another custom drawer organizer for our silverware. It’s amazing
how much more we can fit in this drawer than when we were using a store bought
organizer!
Kids’ dishes & cups are easily accessible to Zeke, Elie, & Evie since
they are in these lower drawers.
The lazy
Susan in the corner is used to store our canned items. Keeping the can
opener with them saves time during meal prep.
Below, you can see where the kitchen cleaners, dish towels, & to-go items
are stored:
Under
the sink, a basket on the door holds sponges & a built-in caddy holds
other cleaning supplies.
Storing the dish towels in a drawer
next to the sink makes more sense than next to the stove where they were
previously!
Below them, I created a “To Go”
cabinet, which houses the supplies I need for packing lunches or grabbing
quick snacks for the road.
Having all these items together saves time when packing the kids’ lunches
every morning.
Across from this cabinet is the island.
(Obviously, I was so focused on not getting the counter top mess in the photo
that I didn’t notice the food scraps on the floor! Sorry!)
The cabinets on the end are home to most of our small
appliances:
The middle drawer & cabinets contain all our food storage items:
The island cabinet closest to the sink & stove serves as a food
prep area. We keep our sharp knives & cutting boards in the drawer,
& we created a built-in
trash & recycling bin below it.
Having these items together makes food prep & clean up a breeze!
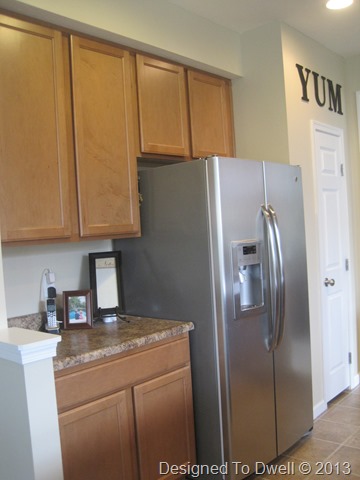
This is the wall across from the island:
The door on the right of the fridge is our pantry:
Moving the lesser used items to the top shelves made this pantry function so
much better for our family!
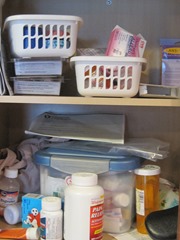
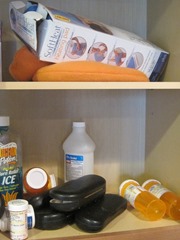
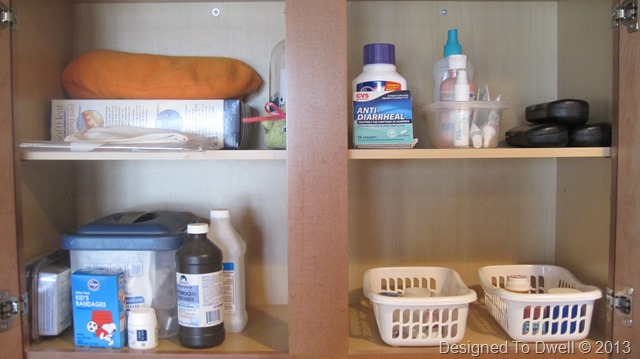
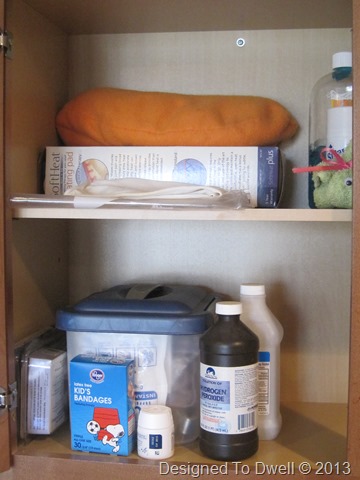
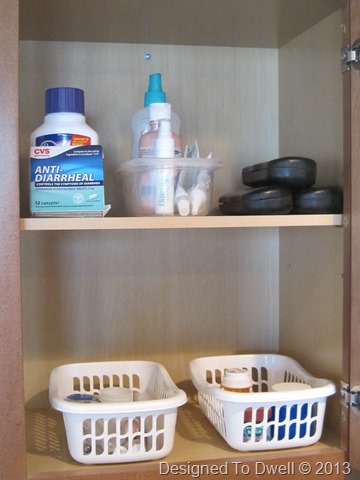
The hard-to-reach cabinet above the refrigerator contains first-aid supplies & medicines:
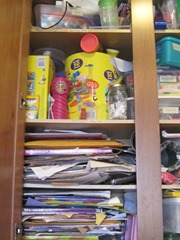
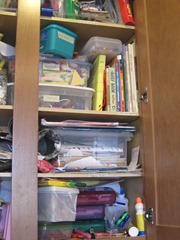
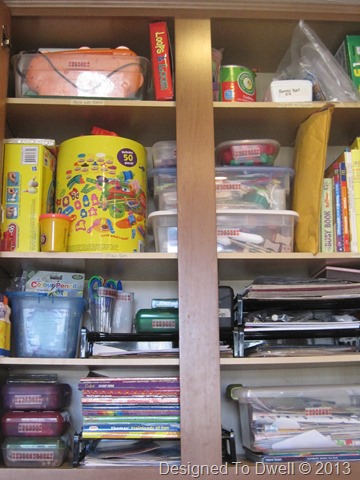
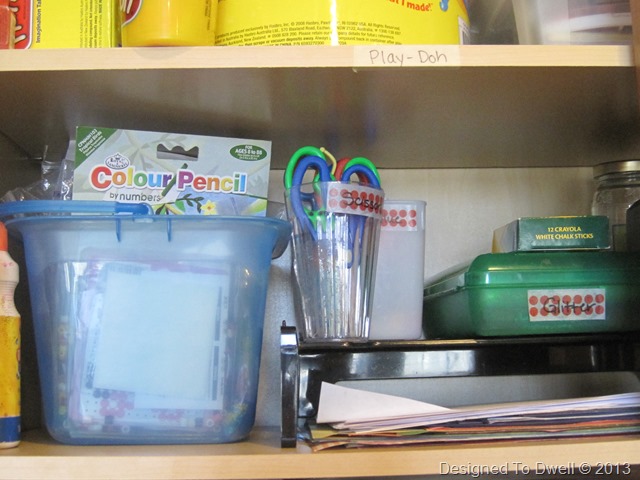
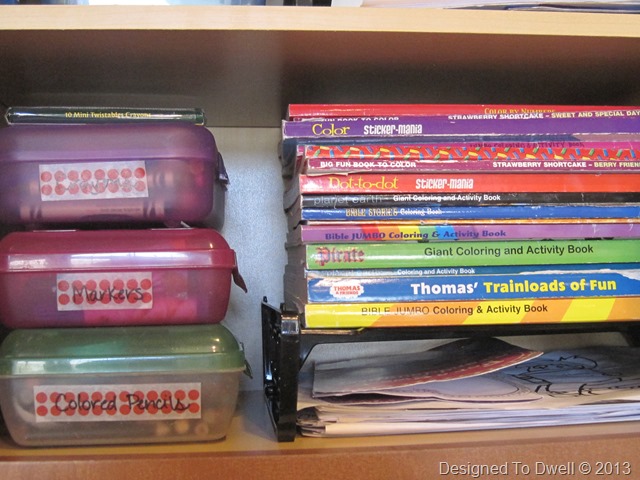
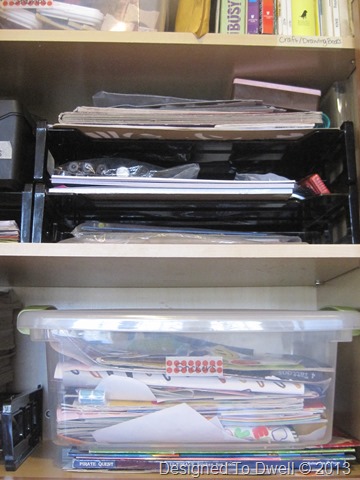
The upper cabinets next to it holds the kids’ art supplies:
Obviously, we have a ton of art supplies! I found that corralling like items in
containers & using stack-able paper trays helps the kids maintain the
organization.
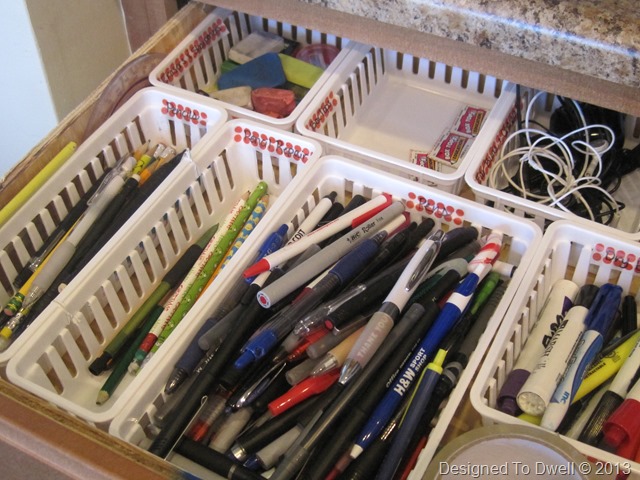
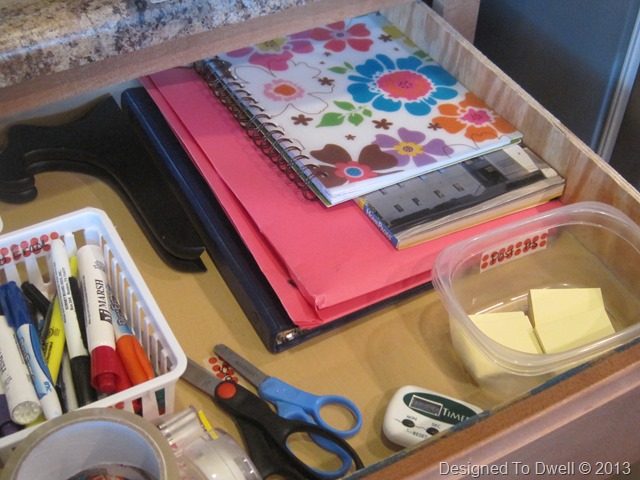
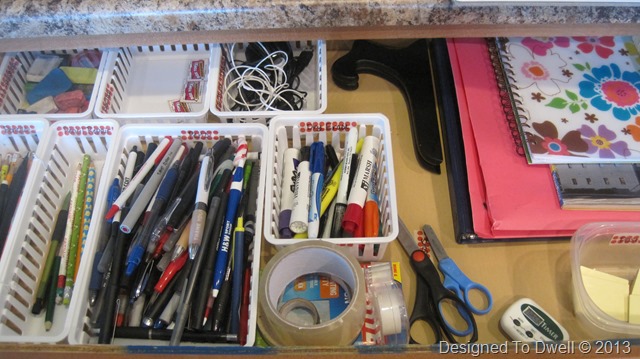
The drawer below holds mounds of pens, pencils, erasers, chargers, papers, &
important phone numbers, & more!
One of our containers is for “Pencil Repair” (wish I remembered the site I got
the idea from). Pencils that need to be sharpened or are out of lead go there
until we fill like repairing them. This works so much better than grabbing 50
bad pencils before finding one that works!
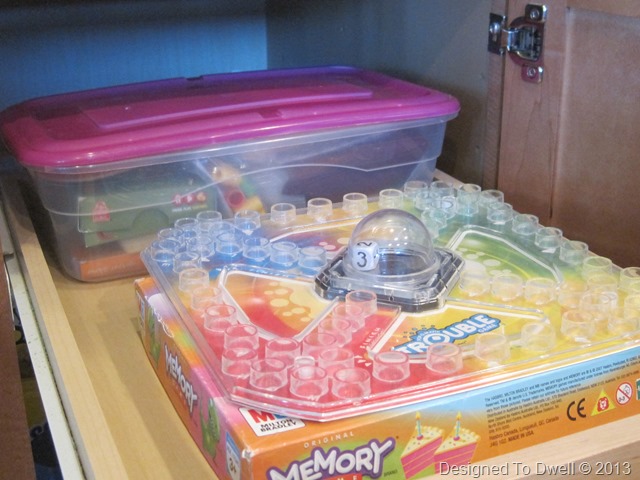
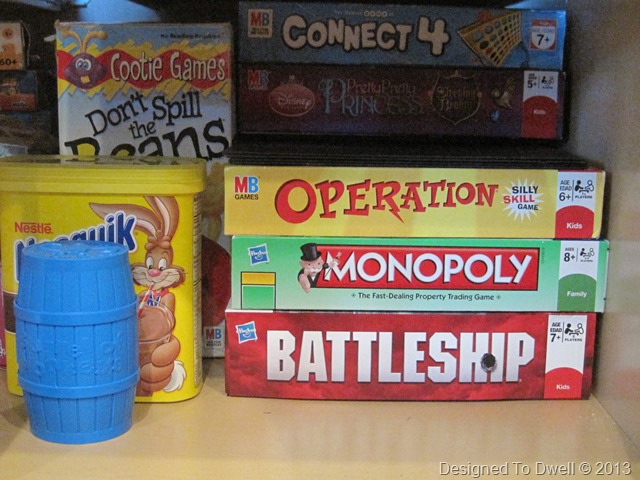
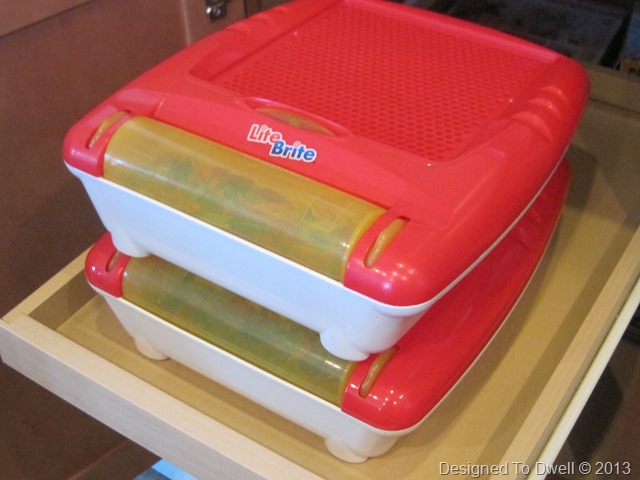
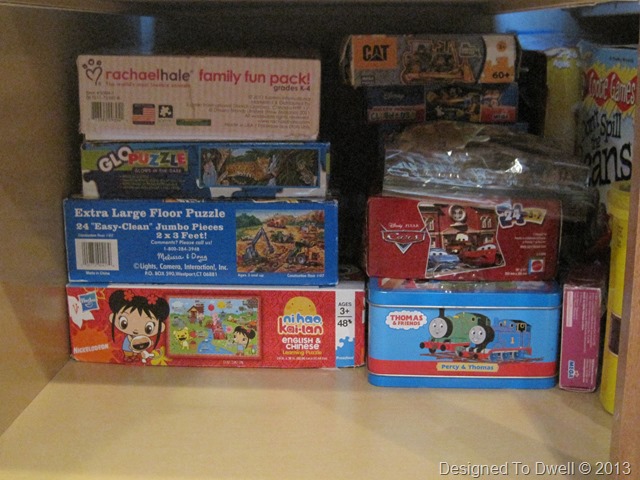
The cabinets below the drawer house the kids’ games & puzzles.
This isn't my ideal location, but I didn't want them in the family room where
the baby could choke on one of their small pieces.
Again, I am so glad to have this place functioning so much better for our
family! I hope you were able to find some inspiration somewhere in my process!
For now, I’m taking an organizing break! I’m ready to do some more
decorating!


