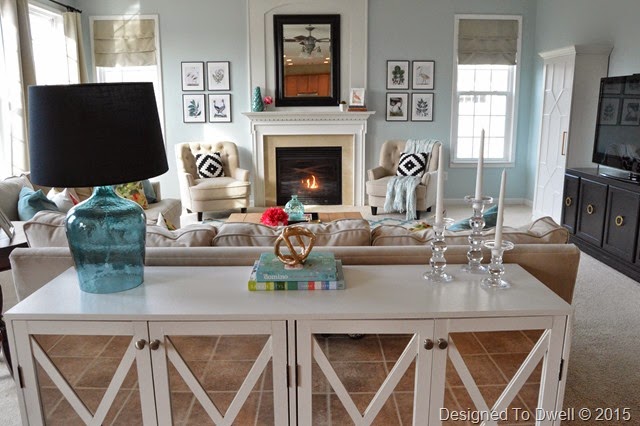
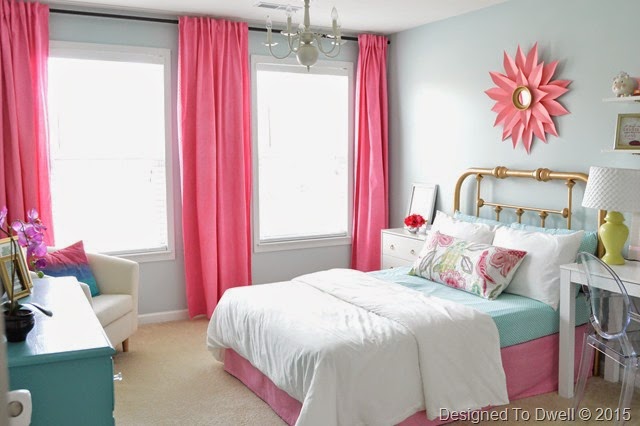
Morning Room Challenge: Curtains & Chairs

Yikes! We have quickly come to week five of the One Room Challenge hosted by Linda of Calling It Home. I have just one more week to finish up a few projects in the morning room & reveal it on the blog. Here's what happened so far:


Last week the room saw no progress, as I took a break to work on these:


My kids have been plotting this "happy meal" theme for almost a year! Evie, my youngest, desperately wanted to be princess Anna, so she became the happy meal toy (although several friends thought she was representing "Wendy's").

Anywho, this week did see some progress, although not as much as I had hoped for...
 

I removed the bottom seams from the curtains to lengthen them, since they were several inches too short & then we hung them up.


You can tell by the crease in the above picture just how much extra length ripping the seams gave me. It was probably a good three inches!
 

On Sunday, I started the painstaking process of refinishing 6 chairs I found on Craigslist. You may not be able to tell from the pictures, but they were disgusting! The foam in the seats had totally disintegrated & they sprinkled yellow dust whenever they were touched.  


They look much better after sanding & painting them & replacing the seats cushions.


The great thing about these chairs is that they are less bulky than our old ones, allowing us to fit six chairs along the sides. I also appreciate the lower profile of the chair backs, since the taller backs on the old chairs hindered the view out the windows.


As you can see from the list below (or the picture above), I still have one pretty big project to complete for the room-- refinishing the table. Blech! I am not looking forward to that one! 

The Plans
1. Replace the small "buffet" with a white Ikea Malm dresser.
2. Add trim around the windows.
3. Replace the curtains.
4. Re-finish the table in a darker stain to minimize the "orange-y oak" look.
5. Replace the chairs with two different styles.
6. Give the secretary a makeover in the form of black paint.
7. DIY artwork
8. Add new lamps & accessories to provide cheerful pops of color.
 
Be sure to visit the rest of the One Room Challenge Makeovers! 


Morning Room Challenge: How to Trim an Arched Window


Welcome back to week three of the One Room Challenge, in which I am updating the look of our morning room! You can see the before pictures & plan here & last week's progress here.
 

This week we added trim to our windows. Okay, technically we did that a few weeks ago, with the exception of the half circle window, since the online tutorial for slicing the trim lengthwise into bendable pieces did not in fact turn the trim into bendable pieces.

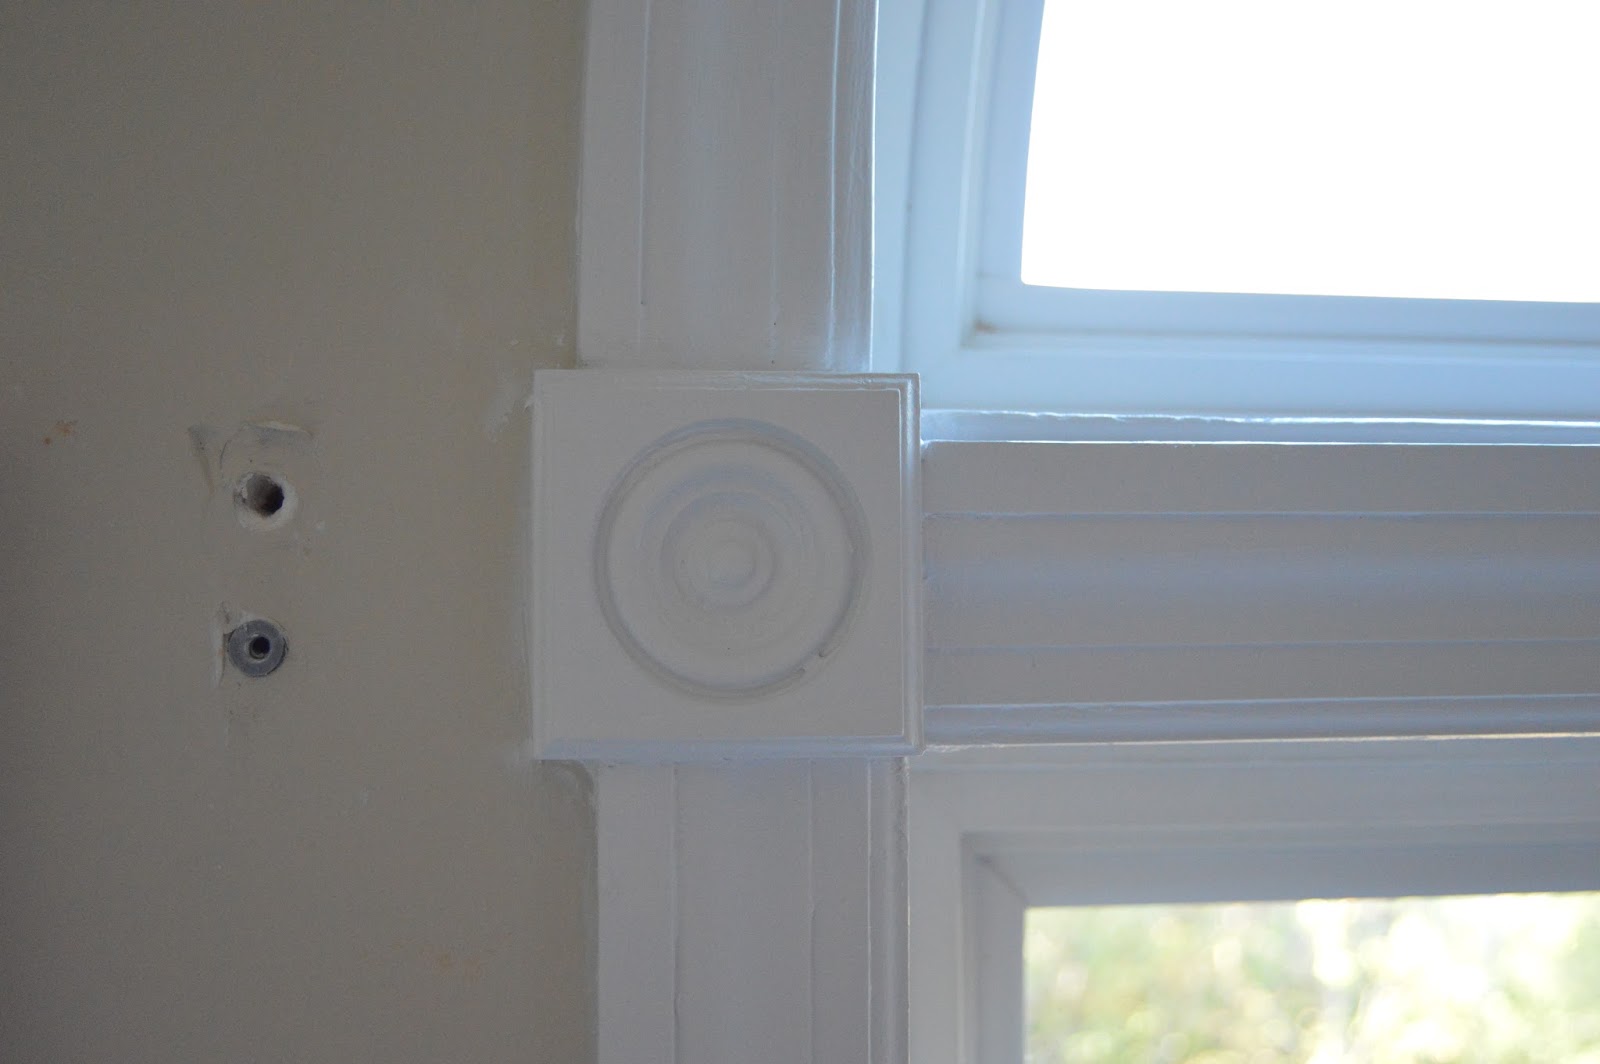
After trimming the outer two windows, we turned to the window below the arch. The bottom window was slightly smaller than the arched window. We easily solved that issue by adding these decorative square pieces to each end of the trim. Then, we finished off the sides & the bottom of the window.


In order to frame the arch, we had to special order flexible moulding from Lowes' window department. This is more expensive than regular moulding, but also cheaper than having custom moulding made & installed.

The product we used is by Carter Flex & cost around $120 for 11 feet. We were able to find the exact profile of the moulding we used on the other windows.


It's a rubber-like super flexible material that easily trimmed out our window.


Once the trim was installed & all the gaps were caulked, it got a few coats of crisp, white paint.


It's not a huge difference, but we really love the way it looks, & it's definitely a step above "builder-grade" windows that are only trimmed along the bottom, as you can see below...


 While I was at it, I also gave the door & baseboards a fresh coat of white paint and touched up some of the wall paint.


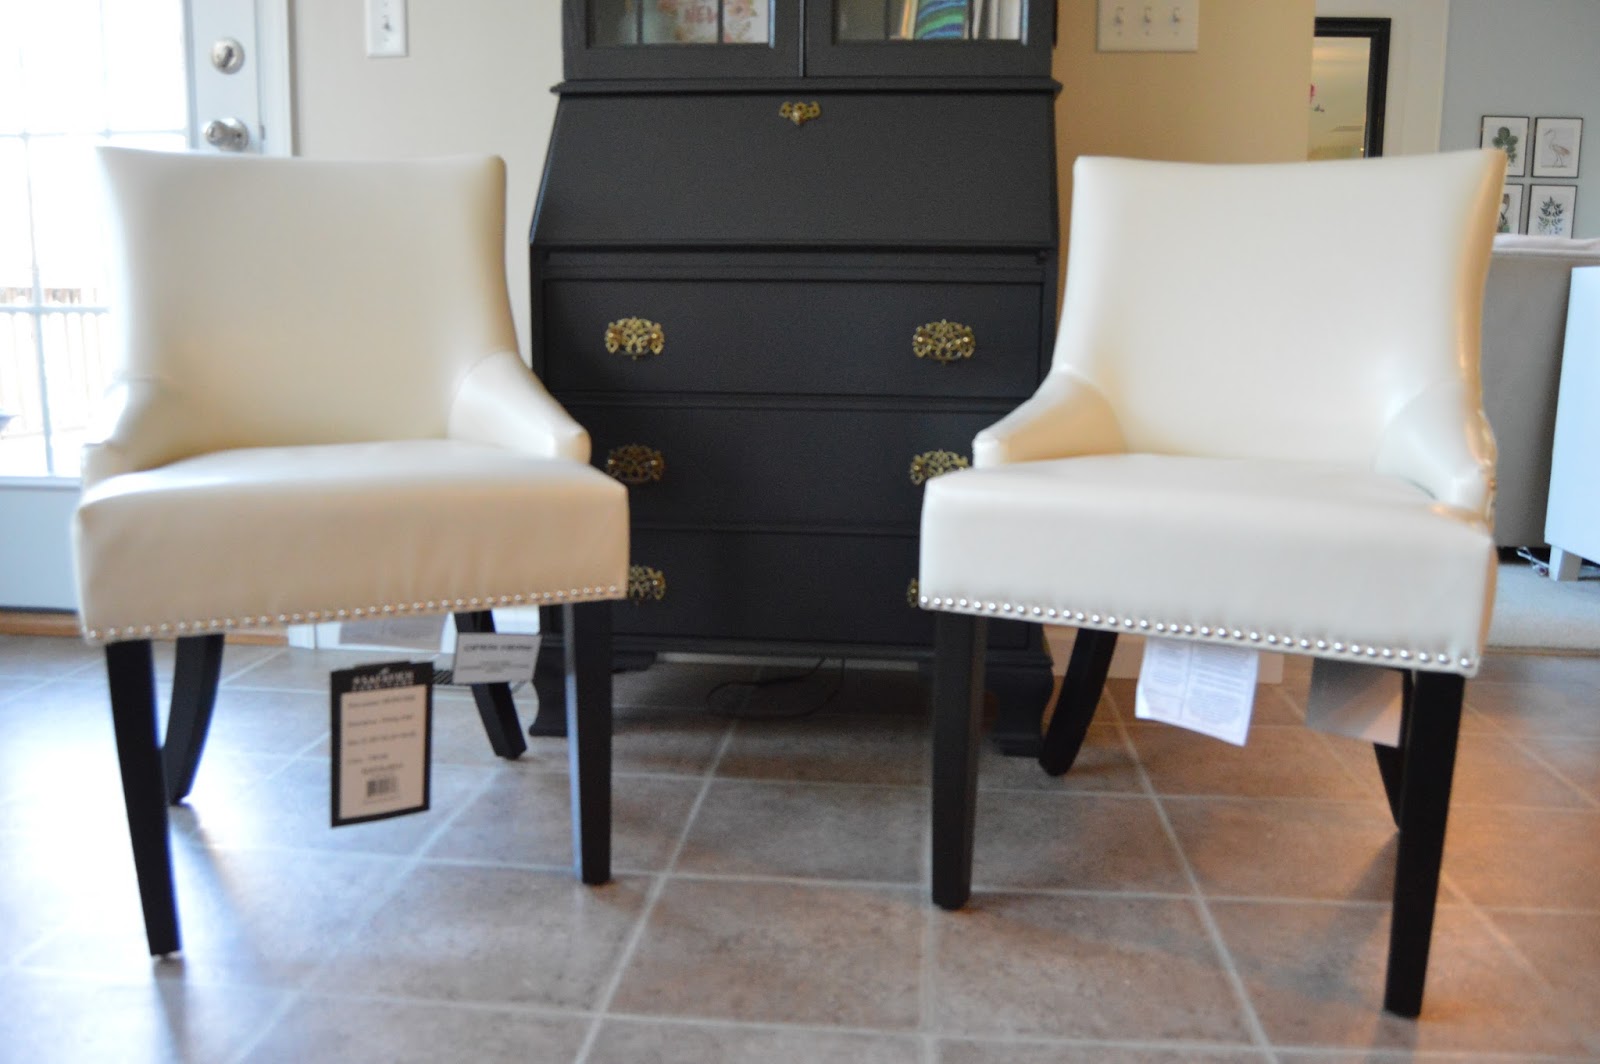
The end chairs I ordered from Overstock arrived...


I was waiting on them to arrive so I could match the leather to paint samples for the side chairs I need to make over.


 The Ikea Malm dresser is installed & I just ordered some lamps to sit on top of it. I went the budget-friendly route & ordered the lamps in "off white" instead of the more expensive turquoise option. I am saving about $20 per lamp & plan on painting them turquoise myself. Hopefully, that will turn out well...


I ordered the curtains around labor day & just opened the box yesterday! I thought I could make the 84" curtain length work, but when we hung them up, they were really short. Looks like I will be spending some time with a seam ripper this weekend!


I do really love the color & pattern in the curtains though!

The Plans
1. Replace the small "buffet" with a white Ikea Malm dresser.
2. Add trim around the windows.
3. Replace the curtains.
4. Re-finish the table in a darker stain to minimize the "orange-y oak" look.
5. Replace the chairs with two different styles.
6. Give the secretary a makeover in the form of black paint.
7. DIY artwork
8. Add new lamps & accessories to provide cheerful pops of color.

Now, to balance making 5 Halloween costumes, hanging curtains, & painting & staining furniture...

Be sure to visit Calling It Home to see all the other One Room Challenge makeovers!


Morning Room Challenge: Painting the Secretary

Week two of the One Room Challenge is officially in the books!  I didn't get as much finished as I wanted, but we did make some headway. The main project for the week was to paint the secretary desk that I bought a while back.


I really loved the clean lines & the fretwork in the glass, but wasn't a fan of the orange-y oak look. I decided to paint it black to update the look. 


I painted it Olympic Paints' Black Magic in a semi-gloss finish. It's reading pretty gray in the pictures, but it is actually darker than it appears. I love that it is more of a soft black, so it doesn't look harsh with the light colored walls.

 
My UH-OH MOMENT: In order to create less mess when painting the fretwork, I stuck paper underneath it (& on top of the glass). What I didn't realize is that the paint went underneath the fretwork & glued the paper to the back of it. I ended up having to use a knife & some rough sandpaper to remove all the paper stuck on the back of the grids, & ended up scratching some of the glass. Grrr... Now to find a solution for all the scratches...


I couldn't wait to add some pops of bold color against the black & I think it turned out pretty great using accessories we already had around the house. The "hustle" & "You make all things new" printables were free. You can find them here and here. The other artwork was done by my daughter & the origami swan was made by yours truly! Proof that decorating doesn't have to cost lots of money!
 

The Plans
1. Replace the small "buffet" with a white Ikea Malm dresser.
2. Add trim around the windows.
3. Replace the curtains.
4. Re-finish the table in a darker stain to minimize the "orange-y oak" look.
5. Replace the chairs with two different styles.
6. Give the secretary a makeover in the form of black paint.
7. DIY artwork
8. Add new lamps & accessories to provide cheerful pops of color.


You can see the before pictures & plans here.

Be sure to check out all the other makeover madness at Calling It Home.


Also sharing here


Less-Than-Perfect Life of Bliss

One Room Challenge: The Morning Room


Hey there! Remember me? Sorry for the blogging absence, but I'm back! Nothing brings me out of a blogging hiatus like the One Room Challenge!

If you are unfamiliar with the idea, basically, it was dreamed up by Linda from Calling It Home, as a way to motivate herself & others to finish a room in their homes in six weeks time. Every Wednesday, Linda has invited 20 blogging & designing professionals to give updates on their spaces. Then, on Thursday, everyone else can join in the challenge in the form of a link party. This is always just the kick I need to get my spaces in order! Here are the three other spaces I have completed, all thanks to the One Room Challenge:

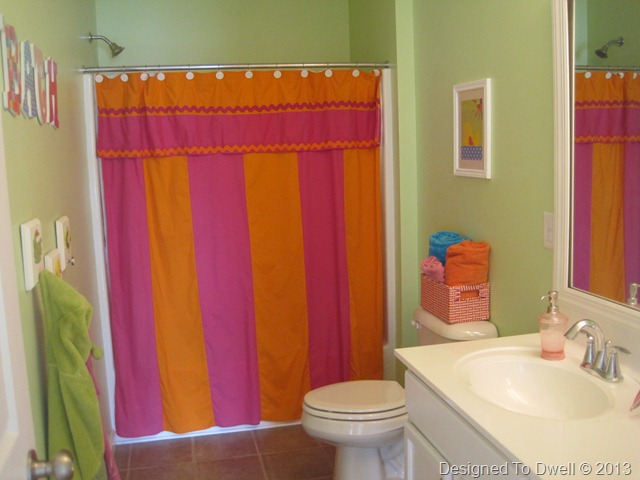
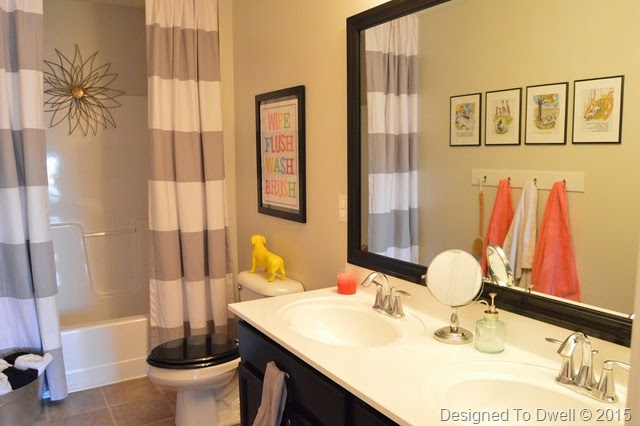
Shared kids' bathroom before:


...and after:

See the reveal here.
 The family room before: 


...and 6 weeks later:

See the full reveal here.


My daughter's bedroom before:


...and after:

See the reveal here.


You may have noticed from the photos above that my style tends to gravitate towards neutral spaces with pops of cheerful colors & a mix of modern & traditional elements. Almost all of the public spaces on our main floor meet these requirements, with the exception of two- the kitchen & the morning room. We are not quite ready to take on a kitchen renovation, so I have decided to make some changes in the morning room for this challenge. Let's take a look at it's current state:


Not 100% awful, but there is only one item in the space I would qualify as modern (the light) & there are NO pops of cheerful colors.


Obviously, these are older pictures as evidenced by the family room in the background, & there have been a few slight changes over the year (painted picture frames, new vase for the table, & a new secretary). But, the fact remains, this room needs help.  It really does look like such a sad space in our home with the lack of cheerful pops of color.

So, here are my plans to liven this room up on a seriously tight budget...
The Plans
1. The paint color (Toasted Almond by Olympic) & light will stay the same. Everything else will change in some way.
2. Replace the small "buffet" with a white Ikea Malm dresser.
3. Add trim around the windows. (We are still trying to figure out how to frame an arched window. Any ideas?)
4. Replace the curtains with the ones above, which are neutral, but bring in a fun pattern. (Hopefully I like these because I ordered them over labor day & still haven't opened the box!)
5. Re-finish the table in a darker stain to minimize the "orange-y oak" look.
6. Replace the chairs with two different styles. (I just picked up the side chairs yesterday. They are different than the ones above & are going to need a lot of love!)
7. Give the secretary a makeover in the form of black paint.
8. I still plan on keeping the cake eating pictures, but plan on DIY-ing some food art to fill up more wall space.
9. New lamps & accessories to provide cheerful pops of color.

So, what do you think? I'd love to hear your thoughts... and while you're here, be sure to check out my home tour.

Don't forget to snoop on all the other One Room Challenge Guest Participants here!


Also sharing here:


Less-Than-Perfect Life of Bliss

Tween Boy's Bedroom Reveal

As I mentioned last week, my son's room is finally finished!

In my goals for the year, I was hoping to re-decorate my older kids' bedrooms. After upgrading our growing boy to a full-sized bed, the design was no longer working.
 

My goal was to create a lighter, brighter, more functional room with plenty of storage for all Zeke's collections, as well as a place for him to get away from his two younger sisters to read or study. I began the process on my son's room right after his eleventh birthday at the beginning of February, by first coming up with a plan & creating a mood board to help me picture the end result.


Other than the desk & chair, I would say the final product is a good reflection of the original plan.  We got started by removing the chair rail & painted over the dark, orange walls with a much lighter, reflective paint color, Toasted Almond.


The dresser was a Craigslist find that I found a few years ago.  I was trying to re-do this room on a very tight budget, so we ended up building the mirror above it, since I couldn't find one big enough in my price range.


I topped the dresser with a cheap tray from Hobby Lobby & some free printables I found online.


In the corner, I placed a Craigslist chair (the pillow is from Ikea) & we made the letter Z marquee & the faux Roman blinds.


To the left of the window, I created a unique gallery wall, featuring a lot of my son's collections (shark teeth, state quarters, rocks, & shells) along with a couple of printables & an owl he made in art class.


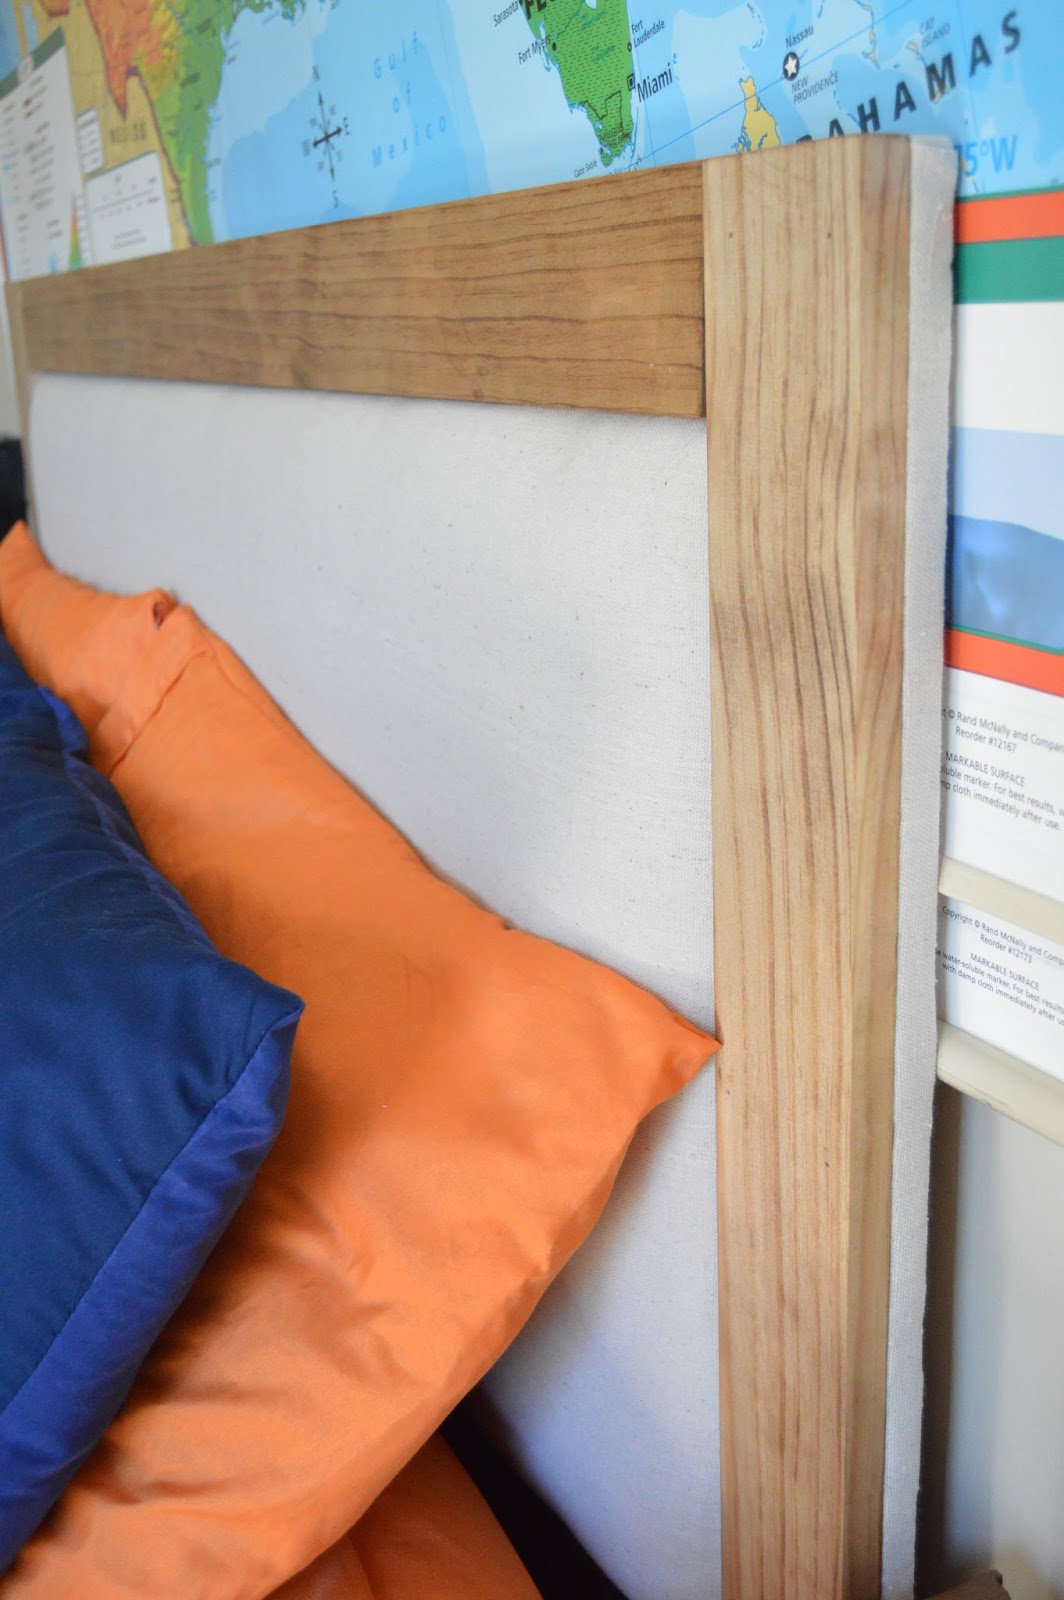
The most recent addition to Zeke's bedroom was the DIY rustic, upholstered headboard we built.  I didn't take any pictures of the process, so I will quickly describe it.  Basically, we cut a piece of 3/4 plywood to size (27"x58") & layered 2 pieces of a foam mattress pad on top of it (a couple of inches smaller than the plywood). Then, we covered it with a canvas drop cloth by stapling it in the back.


I stained 3" pine boards Early American color by minwax & we nailed them to the upholstered plywood, flush with the sides.  We made the two side pieces 48" long, so they would screw into the bed frame. We also reinforced the pine boards by screwing them in from the back of the headboard.


The entire process only took a couple of hours & turned out quite nicely if I do say so myself!


Above the bed, we hung a vintage roll-down map I found a few years ago on a local auction site. We flanked it with two Ikea Rast dressers. Links to the bedding can also be found here. The green pillow fabric came from JoAnn's-- I'm not sure what it's called.


We made use of the small wall between the two doors by adding some shelves to hold more of Zeke's things.


  Because of the tight space, we built a pull-down desk and an upholstered stool below the shelves.


 It's not the prettiest thing to look at, but I love how much space it saves & it's functionality.


Overall, this space is much better suited for Zeke.  It offers plenty of storage & fits his personality well, since most of the decor consists of his collections & artwork.  Hopefully, it will last him a long time!


LinkWithin

Related Posts Plugin for WordPress, Blogger...